

Moisture in your crawl space isn’t just an out-of-sight, out-of-mind problem – it’s a silent threat to your home’s structural integrity, indoor air quality, and energy efficiency. A properly installed crawl space vapor barrier can be your first line of defense against damaging moisture that leads to mold growth, wood rot, and even pest infestations. But is this solution right for every home? This guide explores everything you need to know about vapor barriers, from their necessity to installation and alternatives.
Understanding Vapor Barriers for Crawl Spaces
What Is a Crawl Space Vapor Barrier?
A crawl space vapor barrier is a plastic sheeting material—usually made of polyethylene—installed over the soil in a crawl space to reduce moisture from entering the area. Often referred to as “vapor diffusion retarders,” these barriers help significantly slow down the movement of moisture from the ground into the crawl space, improving air quality and protecting structural components. Vapor barriers are available in various thicknesses, commonly measured in mils (1 mil = 0.001 inch), with thicker options offering greater durability and moisture resistance.
Do All Crawl Spaces Need a Vapor Barrier in Canada?
While not mandated by building codes in every province, vapor barriers are strongly recommended for most Canadian crawl spaces—especially given the country’s diverse and often moisture-prone climates. From the damp coastal regions of British Columbia to the frost-heavy winters of Ontario and Quebec, Canadian homes face unique moisture challenges that make vapor barriers a wise investment.
Climate Considerations Across Canada:
- In West Coast areas like Vancouver, where rainfall is frequent, vapor barriers are essential to prevent ground moisture from penetrating the crawl space.
- In Central Canada, including Ontario and Quebec, freeze-thaw cycles and seasonal humidity can lead to condensation and mold without proper protection.
- Even in Prairie provinces like Alberta and Saskatchewan, where the climate is drier, vapor barriers help during spring melts and unexpected moisture surges.
Overall, no matter where you live in Canada, installing a vapor barrier can greatly enhance indoor air quality, reduce the risk of mold, and protect your home’s structural integrity.
What Happens If You Don’t Have a Vapor Barrier?
Without a vapor barrier, ground moisture continuously evaporates into your crawl space, creating a cascade of potential problems:
- Mold and mildew growth on floor joists and subfloors
- Wood rot affecting structural components
- Increased humidity throughout your home
- Reduced effectiveness of insulation
- Pest infestations (termites, carpenter ants, rodents)
- Musty odors permeating living spaces
- Higher energy bills from reduced efficiency
- Potential health issues from poor air quality
How ground moisture migrates upward without a vapor barrier
Concerned About Moisture in Your Crawl Space?
Get a professional moisture assessment to determine if your crawl space needs a vapor barrier or other moisture control solutions.
Choosing the Right Vapor Barrier
What Is the Best Vapor Barrier for a Dirt Crawl Space?
For dirt crawl spaces, reinforced polyethylene plastic sheeting is the industry standard. The reinforcement prevents tearing when walking on the material during installation or future inspections. Look for materials specifically labeled for crawl space use rather than general construction plastic, as they’re designed to withstand ground contact and have better durability.
What Mil Thickness Should You Use?
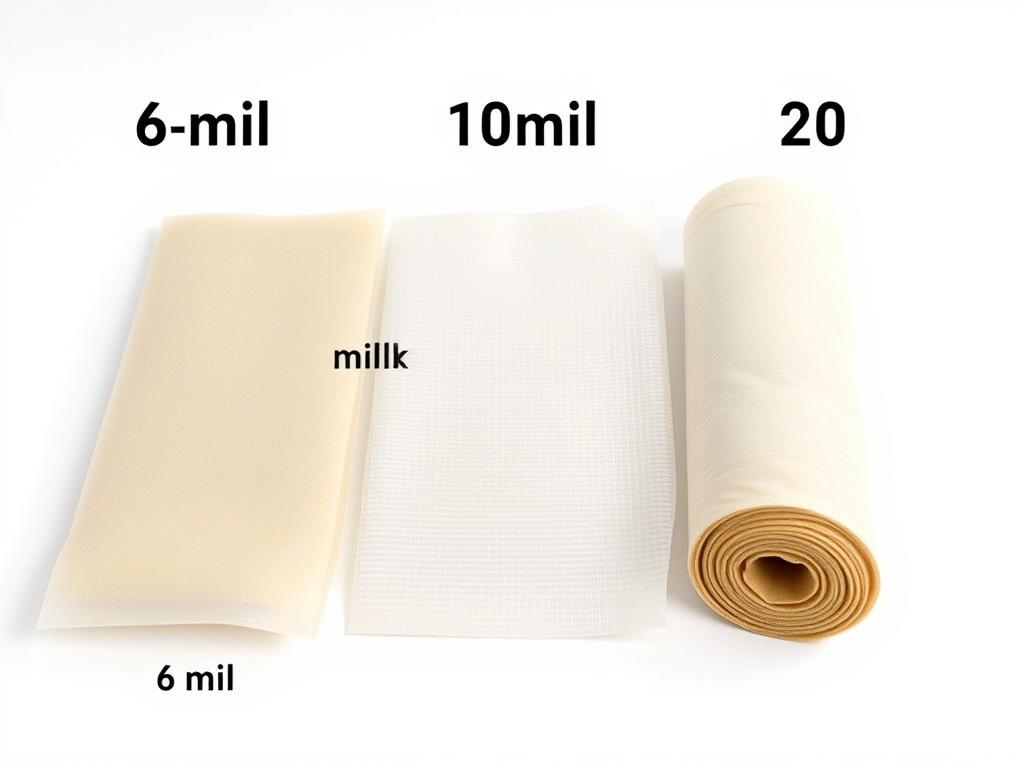
The thickness of vapor barriers is measured in mils, with higher numbers indicating thicker, more durable material:
| Thickness | Classification | Durability | Recommended Use |
| 6 mil | Class I Vapor Retarder | Basic | Minimum requirement for simple vapor barrier |
| 10 mil | Class I Vapor Retarder | Medium | Standard for most crawl spaces |
| 15-20 mil | Class I Vapor Retarder | High | High-traffic areas or full encapsulation |
What Is the Standard for Vapor Barriers in Crawl Spaces?
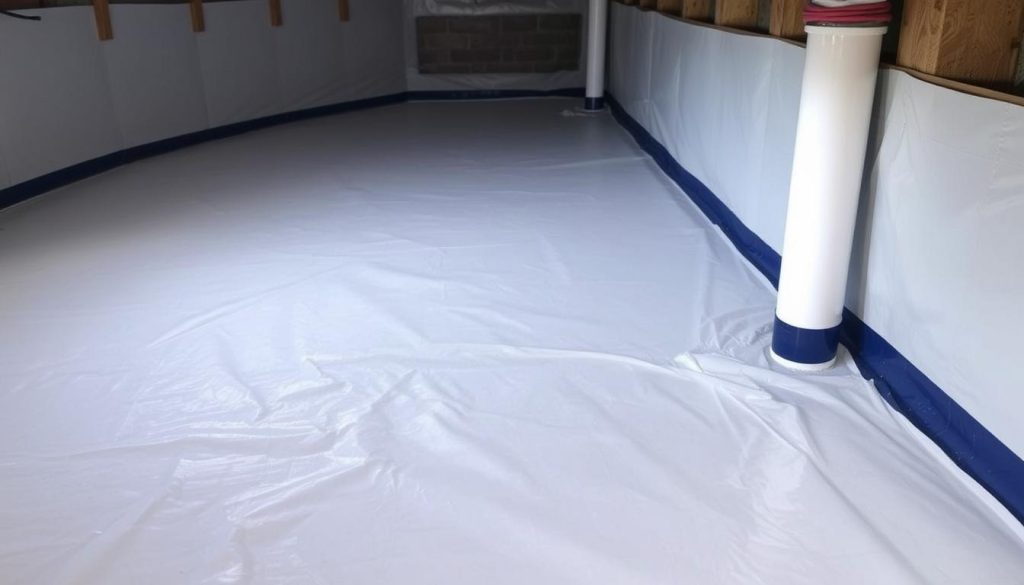
The International Residential Code (IRC) requires a minimum of 6 mil polyethylene as a Class I vapor retarder for crawl spaces. However, many moisture control experts recommend 10 mil or thicker for better durability and moisture protection. The material should cover 100% of the exposed earth with seams overlapped by at least 12 inches and sealed with appropriate tape.
Costs and Installation
Crawl Space Vapor Barrier Cost Breakdown
The cost of installing a vapor barrier varies based on material quality, crawl space size, and whether you choose DIY or professional installation:
Material Costs
- 6 mil plastic: $0.15-$0.30 per square foot
- 10 mil plastic: $0.30-$0.60 per square foot
- 15-20 mil plastic: $0.75-$1.50 per square foot
- Seam tape: $15-$30 per roll
- Fasteners: $20-$40 total
Professional Installation
- Basic vapor barrier: $1,000-$2,500
- Full encapsulation: $3,000-$7,000
- With drainage system: $5,000-$12,000
- Regional price variations: 10-30%
DIY vs. Professional Installation
While DIY installation can save money, professional installation ensures proper coverage, sealing, and integration with other moisture control systems if needed.
DIY Installation
- Cost savings ($200-$600 for materials)
- Can be completed in 1-2 days
- Satisfaction of completing home improvement project
Professional Installation
- Expert assessment of moisture issues
- Proper sealing around obstacles
- Integration with other moisture solutions
- Warranty protection
DIY installation requires proper safety equipment and careful attention to sealing details.
How to Install a Vapor Barrier in a Crawl Space (Step-by-Step)
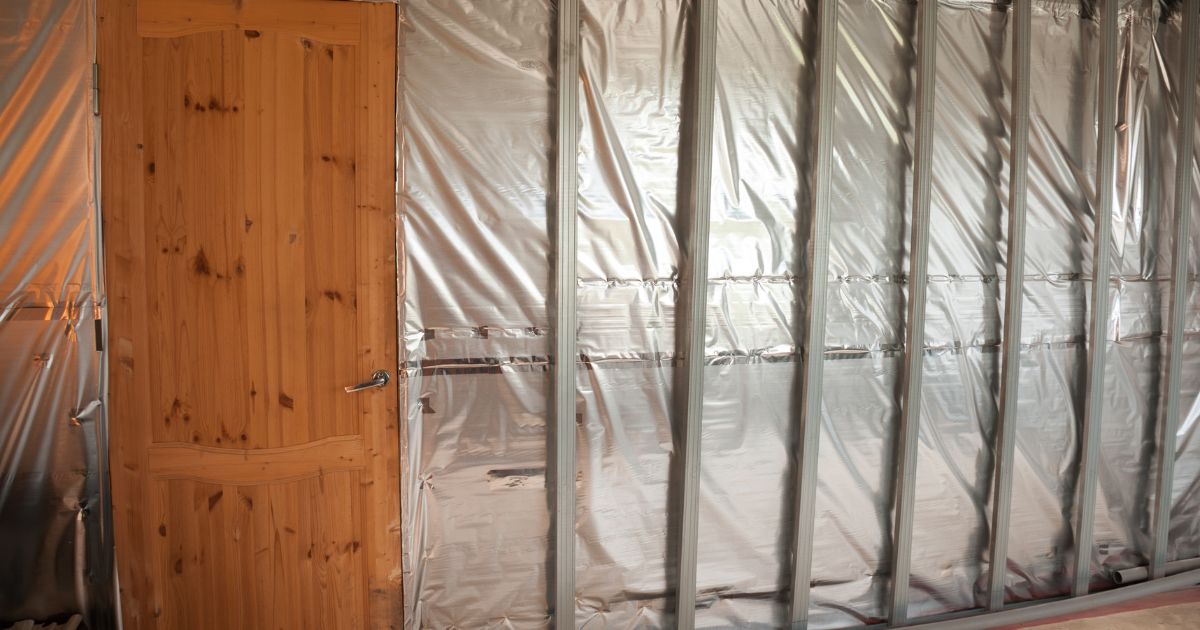
- Prepare the crawl space – Remove debris, sharp objects, and standing water. Level the ground surface where possible.
- Measure and purchase materials – Calculate square footage plus 20% extra for overlaps and wall extensions.
- Gather tools and safety equipment – Utility knife, tape measure, seam tape, face mask, gloves, knee pads, and work lights.
- Roll out the plastic sheeting – Start from one side of the crawl space, working toward the exit.
- Overlap seams properly – Ensure at least 12 inches of overlap between sheets.
- Extend up foundation walls – Run the plastic 6-12 inches up the foundation walls.
- Seal all seams – Use polyethylene-compatible tape to seal all overlapping sections.
- Secure to foundation walls – Use mechanical fasteners or construction adhesive to secure the barrier to walls.
- Work around obstacles – Cut and seal around piers, pipes, and other obstructions.
- Final inspection – Check for complete coverage and proper sealing before finishing.
Need Help With Your Vapor Barrier Installation?
Our professional team ensures proper installation with premium materials and a 10-year warranty.
Call Now and Get a Quote.
Alternatives and Common Concerns
What Can I Use Instead of a Vapor Barrier?
While vapor barriers are the most common solution for crawl space moisture control, several alternatives or complementary approaches exist:
Crawl Space Encapsulation
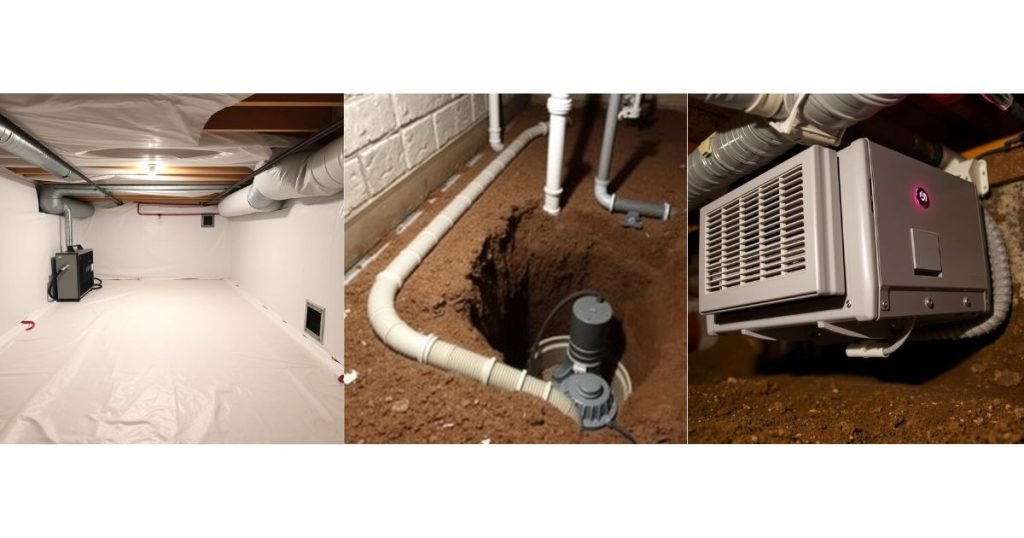
A comprehensive approach that includes vapor barrier plus sealed foundation vents, insulated walls, and a dehumidifier.
Drainage Systems
French drains, sump pumps, and exterior drainage solutions that divert water away from the foundation.
Dehumidification
Dedicated crawl space dehumidifiers that maintain optimal humidity levels without plastic barriers.
What Are the Disadvantages of a Vapor Barrier?
While vapor barriers offer significant benefits, they’re not without potential drawbacks:
- Can trap moisture if improperly installed – Poor installation may create pockets where moisture gets trapped.
- Not a complete solution for severe water issues – Standing water problems require drainage solutions first.
- Requires maintenance and inspection – Tears or displaced material can reduce effectiveness.
- May create habitat for pests if not sealed properly – Rodents can nest between the plastic and soil.
- Initial cost investment – Quality materials and proper installation require upfront investment.

Does a vapor barrier cause moisture problems if not installed properly?
Yes, improper installation can actually worsen moisture problems. If the vapor barrier doesn’t completely cover the ground or isn’t properly sealed at seams and edges, it can create pockets where moisture condenses. This trapped moisture can lead to mold growth between the barrier and floor joists. Additionally, if the barrier doesn’t extend up the foundation walls, moisture can wick up through the foundation and bypass the barrier entirely.
When is a vapor barrier not recommended?
Vapor barriers are not recommended in crawl spaces with standing water issues that haven’t been resolved with proper drainage solutions. They’re also unnecessary in fully conditioned (sealed and insulated) crawl spaces that are incorporated into the home’s HVAC system. In extremely arid climates with no history of moisture problems, the cost may outweigh the benefits, though most building scientists still recommend them as preventative measures.
What Are the Disadvantages of a Vapor Barrier?
While vapor barriers offer significant benefits, they’re not without potential drawbacks:
- Can trap moisture if improperly installed – Poor installation may create pockets where moisture gets trapped.
- Not a complete solution for severe water issues – Standing water problems require drainage solutions first.
- Requires maintenance and inspection – Tears or displaced material can reduce effectiveness.
- May create habitat for pests if not sealed properly – Rodents can nest between the plastic and soil.
- Initial cost investment – Quality materials and proper installation require upfront investment.
Does a vapor barrier cause moisture problems if not installed properly?
Yes, improper installation can actually worsen moisture problems. If the vapor barrier doesn’t completely cover the ground or isn’t properly sealed at seams and edges, it can create pockets where moisture condenses. This trapped moisture can lead to mold growth between the barrier and floor joists. Additionally, if the barrier doesn’t extend up the foundation walls, moisture can wick up through the foundation and bypass the barrier entirely.
When is a vapor barrier not recommended?
Vapor barriers are not recommended in crawl spaces with standing water issues that haven’t been resolved with proper drainage solutions. They’re also unnecessary in fully conditioned (sealed and insulated) crawl spaces that are incorporated into the home’s HVAC system. In extremely arid climates with no history of moisture problems, the cost may outweigh the benefits, though most building scientists still recommend them as preventative measures.
Conclusion:
For most homes with crawl spaces, a properly installed vapor barrier provides essential protection against moisture damage, mold growth, and structural issues. The investment in quality materials and correct installation pays dividends in home durability, energy efficiency, and indoor air quality.
Consider your climate, current moisture conditions, and long-term goals when deciding between a simple vapor barrier, a comprehensive encapsulation system, or alternative moisture control methods. When in doubt, consult with a crawl space moisture control specialist who can assess your specific situation and recommend the most effective solution.
Protect Your Home from Crawl Space Moisture, our experts can help.